As mentioned elsewhere, running an headlless server on recent distro like Ubuntu with Xserver can be a real pain in the axe, if you want to use X11VNC or similar tools, as Xserver will complain about the missing monitor and prompt you for a low resolution mode graphic setting. This may be especially annoying. Gone are the days when you could simply tell Linux to do something and it would stick to it. Or I am a bit busy and have less time to fiddle with it.
I decided to deal with it the hard way: in the old days I used to run a Freebsd server on a old Siemens with a Pentium 133 on it, and it refused to boot without a keyboard. The bios didn’t have any setting like “Stop at any error but the keyboard” like modern motherboards have. So I took the guts off an old ps2 keyboard and put them into a soapbar box.
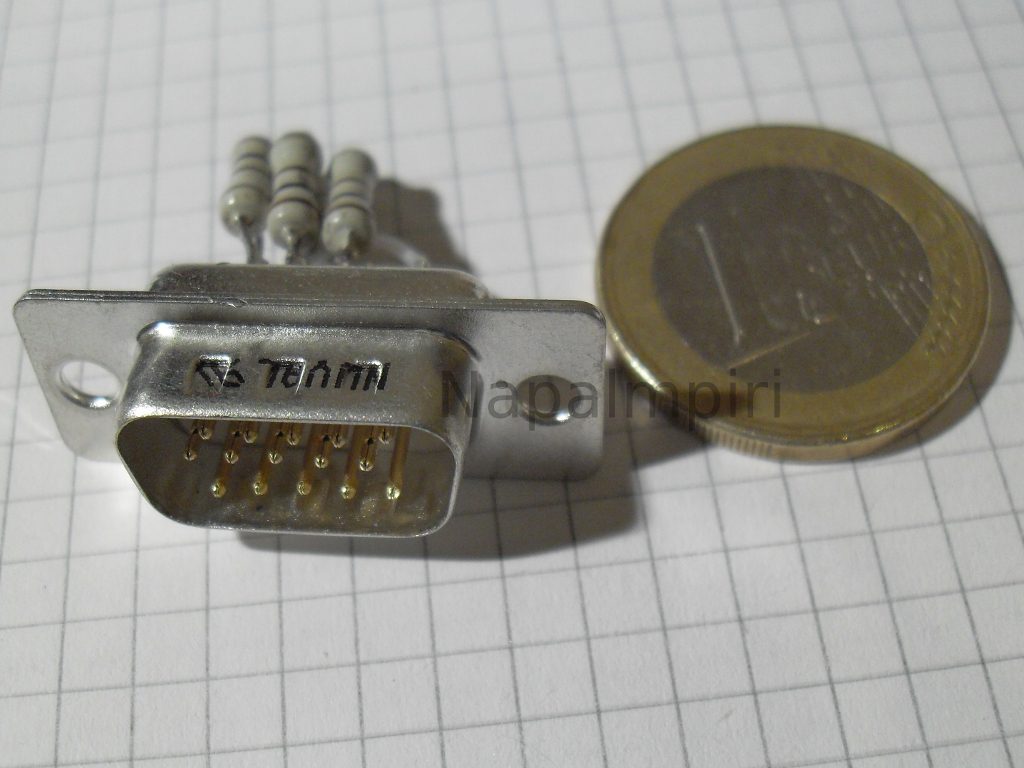
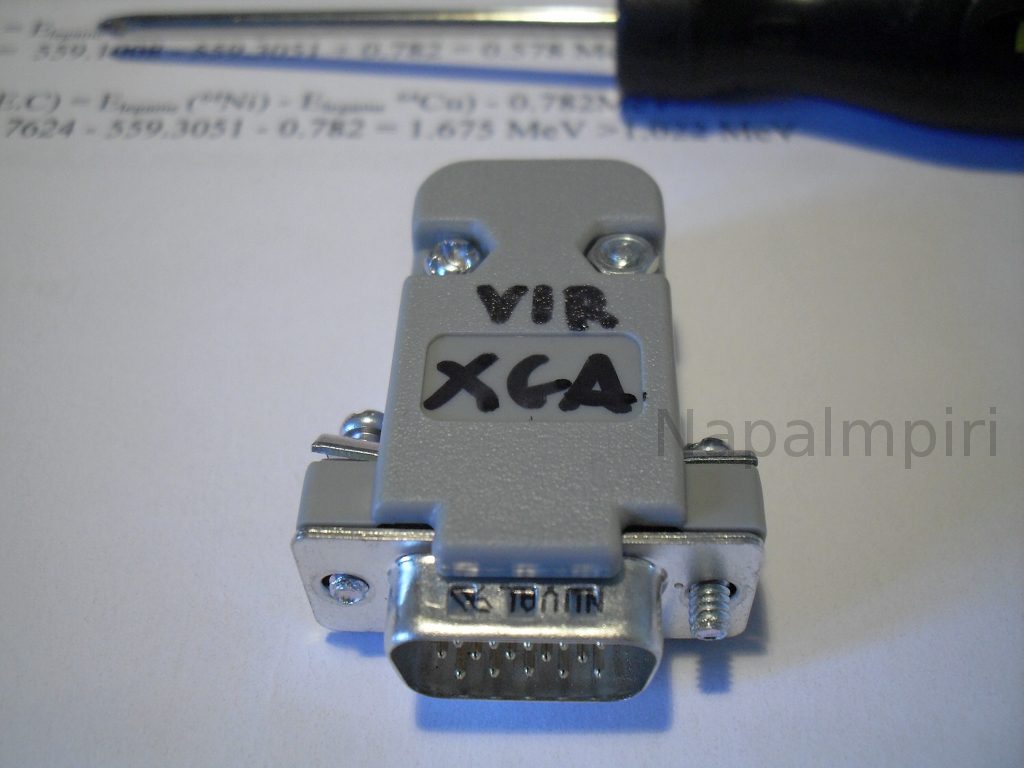
I decided to do the same with the monitor and found VIRXGA, an interesting project from Professor Renzo Davoli, from University of Bologna. Basically it’s an XGA termination, it fools the Xserver into thinking it has a real monitor (a XGA projector, to be fair) plugged in. The construction is really simple and the hardware cost is under 5 euros.
Davoli relased VIRXGA undo the CreativeCommons Attribution-Share Alike 2.5 License.
Btw, while you are at it, you may find Davoli stance on free software interesting: read more about his point of view here.

Original article (credits to Renzo Davoli) here: VIRXGA. Read it before going on. Do it.
The usual disclaimer: please follow the procedure outlined only if you are a skilled technician and feel confident about yourself. Molten tin is especially unconfortable on the legs: please avoid soldering wearing only underwear. The solder iron is a deadly tool: please keep it away from pets, and small childrens.
I disclaim all liability or loss in conjunction with any content provided here. I disclaim any liability for procedures mentioned and described here including indirect, special, incidental or consequential damages, mild or severe injury, hardware damage, death, mutilation, money loss, loss of confidence and/or loss of sleep arising out of the use or the inability to use the tools/materials/information published and mentioned on this page.
Tools:
- Solder iron
- Solder wire (small)
- a D-sub 15 VGA male (don’t confuse it with the similar DE-9 connector, used in serial ports)
- A shell enclosure for the d-sub connector (for a neat work).
- small insulated wire (for bridges)
- Three 100 ohm 1/4 watt resistor (brown-black-brown-gold). * See Craig’s suggestion at the bottom.
- Scissors
- Optional: a multimeter to check for shorts.
- Optional: a third hand tool or a pal handling the connector while you solder (I didn’t have and that’s why I’m never gonna show you the solder side of the connector)
- Optional: a firm hand.
Please note: I didn’t have a real virgin D-sub 15 VGA connector handy, so the photo below is a bit fake (it’s an image of a female connector mirrored), but should be useful to understand the connections.
I suggest you to start cutting the resistor wires quite short (remember, it’d have to fit into the shell) and soldering the resistors on pins 6-7-8 (see Davoli article). From now on you can basically solder the rest.
Remember to check for shortcuts before trying it out. A multimeter could be handy.
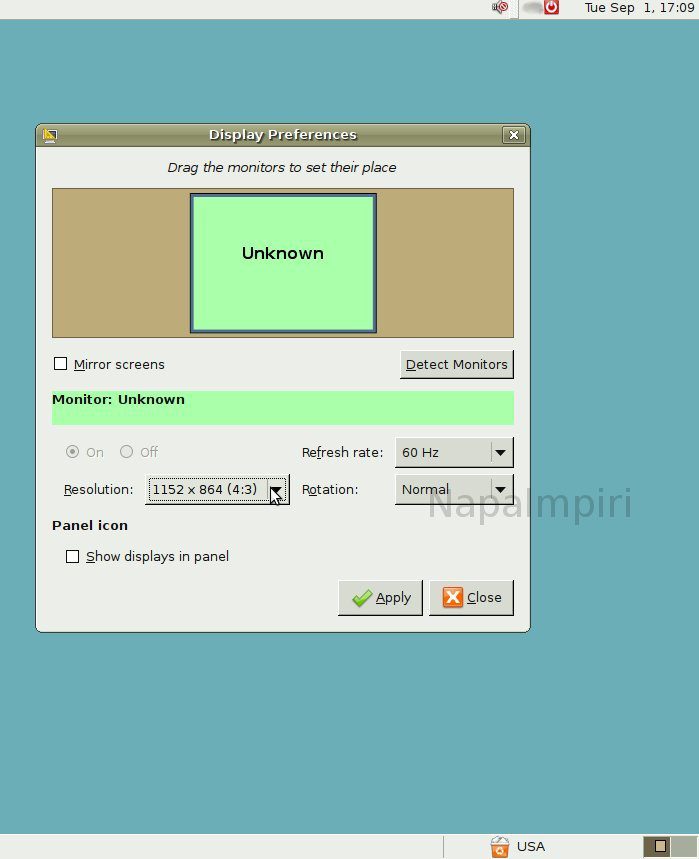
If everything seems ok, fit into the shell, plug it and boot into your headless server. You should be able to set and retain a decent resolution and color depth for your remote desktop and never see again the hatred LOW RESOLUTION BLAH warning message.

Let’s hope it’s finally OVER.

Update(02-Jan-2010): Thank you to Craig, who pointed out there was an error in my awful drawing. The correct schematics is the one he mentions, and the original one displayed in Davoli’s article.
Moreover, if you have trouble finding 100 ohm resistor, you can always try Craig’s suggestion and use some common resistor available in parallel. He used two 220 ohm in pairs. Space could be an issue, but it should be possible to work it out.
Update(04-Feb-2010) Prof. Renzo Davoli (the maker of VIRXGA) pointed out that Craig was right all along thel line. Quoting him:
VGA specifications define the monitor id as follows:
4:n/c,11:n/c,12:n/c=no monitor,
4:n/c,11:n/c,12:GND=Mono monitor which does not support 1024×768,
4:n/c,11:GND,12:n/c=Color monitor which does not support 1024×768,
4:GND,11:GND,12:n/c= Color monitor which supports 1024×768.
Thus the one for VIRXGA is 4 and 11 connected to 5, which is ground, and 12 not connected.
Modern Monitors use i2c to provide more info on the geometry and many other parameters, but the “good old way” is enough for VIRXGA.
Thank you for VIRXGA and for contributing.

Thanks for the excellent article. Two small comments – your drawing has pins 5,11 and 12 connected together (and thus grounded). This differs from the article you reference. Mine worked as described in the article connecting 4,5 and 11. Maybe that indicates a different device to the motherboard?
Secondly, if your local store doesn’t have any 100 ohm resistors, and you think that you can get away with some 220 ohm resistors, they won’t work. However, thanks to the magic of connecting resistors in parallel, using a pair of 220 ohm resistors with their ends twisted together in place of each of the 100 ohm resistors works like a charm. And if you happened to have bought a pack of 5, you can leave one of the connections with just a single 220 ohm resistor and it will all still work. Sweet!
Hi Craig,
thanks very much for pointing it out. I removed the wrong schematic. I also mentioned your suggestion about parallell in the article.
Glad you liked the article, and thanks.
Graig,
You are right. VGA specifications define the monitor id as follows:
4:n/c,11:n/c,12:n/c=no monitor,
4:n/c,11:n/c,12:GND=Mono monitor which does not support 1024×768,
4:n/c,11:GND,12:n/c=Color monitor which does not support 1024×768,
4:GND,11:GND,12:n/c= Color monitor which supports 1024×768.
Thus the one for VIRXGA is 4 and 11 connected to 5, which is ground, and 12 not connected.
Modern Monitors use i2c to provide more info on the geometry and many other parameters, but the “good old way” is enough for VIRXGA.
renzo
I’d like to thank Prof. Davoli for his contribute. As usual, I’m putting relevant comments in the post for everyone to read at first glance.
Non so se leggerai ancora i commenti di questo articolo, dato quanto è vecchio,… ma ho tirato su un nas con solaris 11 da usare via VNC e ho scoperto ieri questo problema (pc che si ferma con errore di X per mancanza di monitor) grazie a te e al Prof. Davoli ora credo di avere la soluzione!!!
Ciao Lorenzo,
grazie di essere passato. Il merito e’ certamente piu’ di Davoli che ha concepito il circuito, io l’ho solo ‘pubblicizzato’.
Sono contento che ti sia servito, l’errore su X è un problema scocciante…
In effetti, poi, a dover di cronaca; ho cercato sul web e si trovano centinaia di siti che indicano come costruire un “Vga dummy”, ovvero usano soltanto le tre resistenze senza indicare che si tratta di un monitor XGA. Siccome la prima parte delle saldature è identica (le tre resistenze a massa) proverei prima così che si risparmia di saldare gli altri tre punti… oltre tutto dovrebbe essere possibile avere maggiori risoluzioni tramite VNC… che ne dici?
Ok costruito e provato. Con le sole tre resistenze da 100 Ohm saldate 1-6 2-7 3-8 funziona e viene visto in gnome come monitor sconosciuto a 1024×768. Grazie comunque per aver aperto la strada 🙂
Adesso basta aggiungere “AllowMouseOpenFail” all’X-server e posso fare boot completamente headless con il mio n40l con solaris 11 😀
bellino l’n40l lo stavo valutando anche io…